
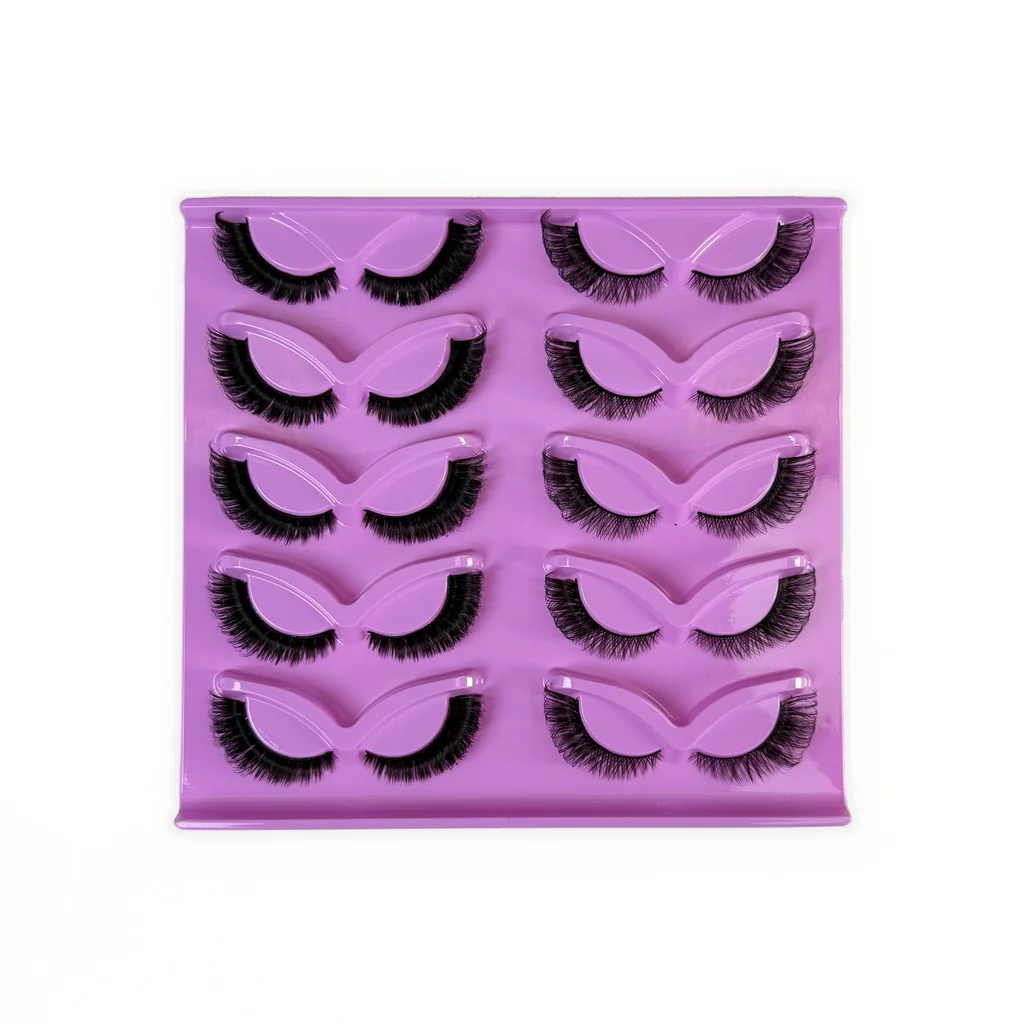
A salon appointment runs ninety minutes to two hours, and four to five weeks later you are back in the chair. DIY cluster lashes broke that loop: no booking, about twenty minutes at the mirror, and you choose the length each time.
The difficulty is the naming. “No-glue”, “self-adhesive”, “cluster” and “individual” sit on the same shelf and are not the same product. Buy the wrong one and the set falls off in a day, scratches the eye, or will not come off cleanly.
Three products, three different jobs
Strip lashes sit on one full-length band above the natural lash line. You wear them for an evening and put them back in the tray.
Cluster lashes — also sold as individual or segment lashes — are small fans of two to six hairs on a very thin band. You place them one at a time under the natural lashes with a bond and a sealant, and they stay on for several days. This is what DIY lash extensions means.
Single extensions are one hair grafted to one natural lash with an adhesive that sets in seconds, which is exactly why they need a trained technician. The difference between the three is not price or prestige; it is the adhesive and the precision it demands.
Four parameters that decide whether a set works
1. The band. It is the frame of every cluster and the least discussed part of the product.
| Band type | How it looks | Best for | Watch out |
|---|---|---|---|
| Clear band | Almost invisible, no visible seam | A natural look, round eyes | A stiff band lifts at the corner; press longer |
| Black cotton band | A thin black line that doubles as liner | A liner effect, monolid or hooded eyes | Less forgiving if placed off-centre |
| Self-adhesive band | A pressure-sensitive layer; peel and place | Travel, touch-ups, beginners | Shorter wear than a bonded set; loosens when wet |
| Thin soft band | Very fine and flexible | Strongly curved eyes; corners that lift | Easy to distort when peeling it off the strip |
2. The curl. J is nearly straight, B slightly lifted, C the mainstream natural lift, D a clear upward flip, U the wide fan shape. Shallower eyes usually suit J, B and C; deeper-set eyes carry C and D better. A curl that is too strong makes the eye look heavy at any length.
3. The length. Cluster sets commonly run from 8 to 16 mm. The gradient that rarely goes wrong is 8–10 mm at the inner corner, 12–14 mm at the centre, 12–16 mm at the outer corner. One length across the whole eye is the most common reason a set reads as fake.
4. The cluster width. Two to three hairs is a natural finish, five to six is a volume finish. Wider clusters apply faster but the difference from your own lashes shows more. Start at three to four hairs.
Match the eye, not the photo
Round eyes need length at the outer corner (14–16 mm) and no more than 13 mm at the centre, or the eye reads rounder still. Almond eyes take the standard gradient unchanged. Downturned eyes should not be lengthened at the outer corner; use a C or D curl there to lift and keep the outer length level with the centre. Monolid and hooded eyes do best with a black cotton band that replaces liner, and stay under 12 mm or the lid pushes the lashes down. Wide-set eyes take their extra length at the inner corner; close-set eyes at the outer corner only.
Before you start
Clean and oil-free. Adhesive bonds to oil far worse than to a clean lash. Wash your face, skip oily eye cream and oil cleanser around the eyes, and let the lashes dry completely.
No mascara, no curler. Mascara leaves a film on the lash, so the bond grips the film instead of the hair and the whole set comes away in one piece. If you are wearing clusters today, no makeup first.
Patch test. Put a small amount of adhesive behind the ear or on the inner arm and wait 24 hours. Most lash adhesives are cyanoacrylate-based, and anyone who reacts to that chemistry will react to professional and DIY sets alike.
Application in six steps
1. Set the mirror low and tilt your chin up, looking down with eyes half closed. That is the only angle that shows the lash roots; working straight into a mirror is how lashes end up glued to the eyelid.
2. Lift each cluster by the middle of its band with curved tweezers, never by the tips, which splay the hairs. Lay them out inner-to-outer on the back of your hand.
3. Run a thin line of adhesive along the upper edge of the band. Less is more: excess spreads onto neighbouring lashes, locks them together and makes removal painful.
4. Place it 1 mm off the lash line, under the natural lashes — not on the eyelid. That millimetre lets the follicle breathe and keeps the band from scratching the eye.
5. Press for three to five seconds with the back of the tweezers. Skip it and the set starts lifting at the inner corner the next day.
6. Seal it. Brush sealant over the finished set and let it dry for two to three minutes. The sealant closes the adhesive layer, which is what keeps a set intact for days rather than hours.
Removal: why pulling is the expensive mistake
Pulling a cluster off takes the natural lash with it, root included. Do that repeatedly and the outer corner thins out visibly — the most common self-inflicted problem in lash wear.
Use a cream remover: apply it along the band, wait one to two minutes for the adhesive to soften, then ease the cluster off from outer corner to inner. An oil-based cleanser works in an emergency because oil weakens the bond, but it is slower and needs patience rather than rubbing. Rinse, leave the lashes bare for a night, and do not reapply the same day.
Five failures and what actually caused them
| Symptom | Real cause | Fix |
|---|---|---|
| Half the set gone in a day | Oil or mascara on the lashes; too little adhesive; no sealant | Clean again, use more adhesive, always seal |
| Itching or redness after application | Adhesive touched the eyelid, or a genuine sensitivity | Remove immediately; if it recurs, stop using that adhesive |
| Scratching, something in the eye | Placed on the lid or too close to the root | Remove and re-place, 1 mm off the lash line |
| Clumps and blocks | Too much adhesive; neighbouring clusters fused | Halve the adhesive; wait a few seconds between clusters |
| Outer corner lifts | Strong eye curve, band not seated | Switch to a thin soft band; press longer |
Safety lines worth keeping
Do not apply over an active eye infection, a stye, recent eye surgery, or while using prescription eye drops. Remove contact lenses first. Once a box is opened, use it within the period printed on the pack, because both the adhesive and the band pick up moisture. Wipe tweezers with alcohol before each use and never share them.
If redness, swelling or discharge persists, remove the set, stop using the product and see a doctor. Applying another layer on top is not a fix.
If you buy clusters by the box
For salons, distributors and private-label brands, four details matter more than the style range: band width consistency between batches (a wide tolerance changes the feel and the rework rate), whether the roots are knotted (a loose knot sheds in transit), whether the adhesive is matched to the band (the same adhesive grips different bands very differently), and moisture-proof packaging.
None of the four can be judged from a product photo. They show up in a sample and a small trial order — which is also why it is worth confirming the specifications in writing before a bulk run rather than after.
Related reading
- Eyelash curl types explained for wholesale buyers
- 12 questions to ask your lash supplier
- What actually happens inside a lash factory: seven steps from fibre to box
- Cluster vs strip vs pre-made fans: what a wholesaler should stock
This is a guide to product selection and application, not medical advice. If you have an eye condition or a history of adhesive allergy, ask a doctor first. Adhesive formulations differ between brands, so read the instructions and patch test before use, and confirm the specifications of any product you intend to resell.
Need cluster samples or a private-label run?
Tell us the eye shape you are buying for, the market, and whether you want a natural or a volume finish. We will match the sample to that and send the spec sheet with it.